Our House

Our House
Before: House. After: Home!

Sunday, March 20, 2016

Drywall! Drywall! It is EVERYWHERE!


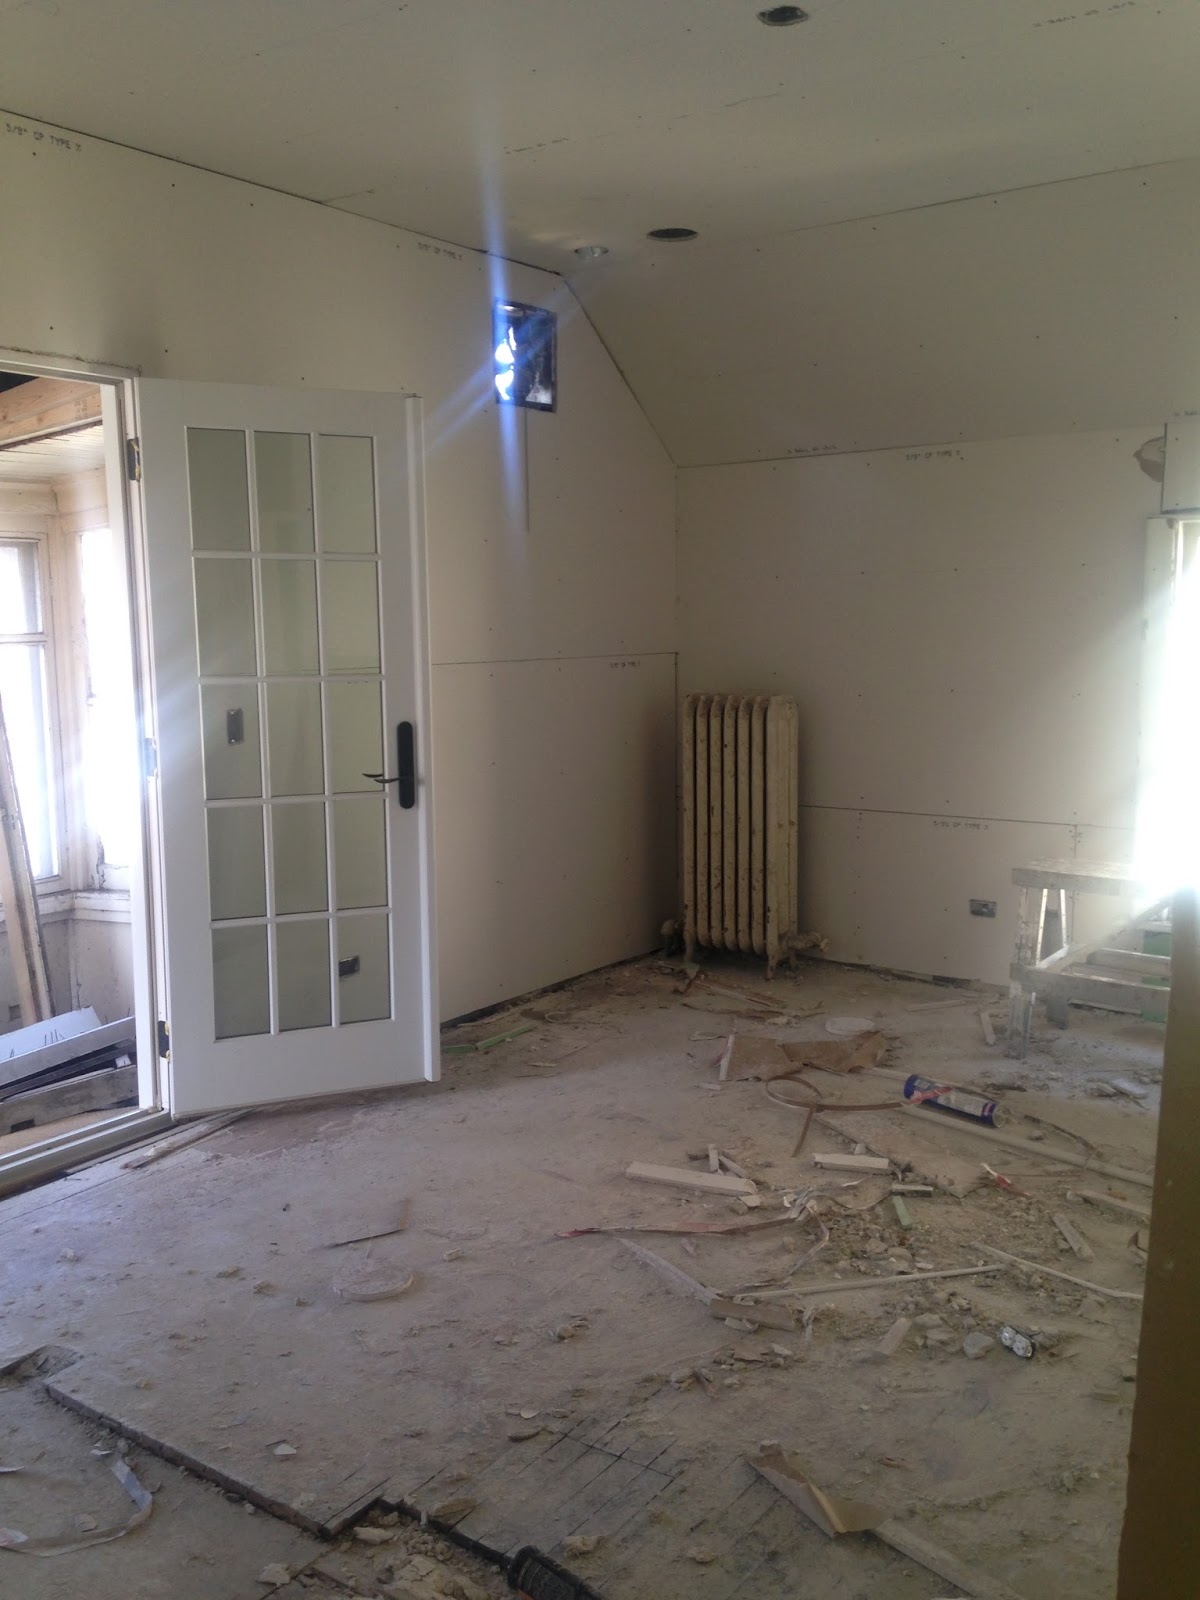
Rewind to Tuesday. We passed our insulation inspection in the afternoon & our contractor confirmed the drywallers to start Wednesday. Jump to Friday afternoon. The drywallers have hung drywall throughout our entire house! The entire 1st & 2nd floors & a bit of the basement; all in 3 work days! There were speed demons! We have been waiting since mid-December for another big "oh my goodness" moment. We hadn't seen a dramatic change since the framers built the start of the side & back porches and framed the new floor plan inside. The months in between have been spent filling the space between the studs those framers installed. Electrical, plumbing, HVAC and finally insulation all needed to happen before we got another dose of drama. Good drama I should specify. Well, here it is, in pictures; the work of the wild men drywall crew. Starting tomorrow they will tape & sand the whole beast! Stay turned for photos of that.
It may not look like much, but to come into the house &
see these first glimpses of drywall made me act like a
fool! I was jumping up & down, clapping my hands &
squealing. I think the drywall guys thought I was insane.

View of the kitchen into the dining room.

View the opposite way - from the dining room
back into the kitchen

There were stacks of drywall everywhere
on Wednesday. This is the view from our
bedroom up the hallway to the front of the
house.
View up the stairs to the outside wall of
Chris' office
More photos - can you tell how excited this stage made me??
Chris loving his new office drywall!

Chris admiring the mess & drywall in the 2nd
bedroom

I am profoundly excited about the kitchen,
even partially drywalled!

Don't mind the mess- check out the drywall! Also note the
yellow walls are holdovers from our plaster days! We kept
5-10% of the plaster walls.

The stairs are starting to look legit! Except
for the whole not having a banister for
the landing.........details.

I hadn't played with the panoramic feature on my phone in awhile - drywall inspired me to take one of the kitchen and
family room. 

I continue to be unreasonably excited about the
basement laundry area; which got drywall too!

Our bedroom is starting to take shape!
Update March 25, 2016:
This is just too funny not to add:
The drywallers rocking their stilts to get the mud on the tops
of the walls & the ceilings

Just another day at the Grant St circus!

Sidewalk to nowhere

We have a sidewalk to nowhere running along the side of our back yard. Before our renovation; there was a side door that would take you from the house to this sidewalk; but we said goodbye to that porch in December, 2015! We have no need to have a sidewalk leading from the corner of the house to the alley on that side. So, I did what anyone would do & asked our contractor if he had a jackhammer I could borrow. He didn't have a jackhammer, but he did have a roto hammer; which is a jack hammer's baby cousin.
Before. My goal was to rid myself of the
sidewalk all the way to the alley.
Don't mind the improvised
wooden walkway next to the sidewalk....
the backyard is a huge mud pit when it rains.

 I had a lot of fun playing with the tool; but my Dad came to the house to help me equipped with a giant pick & sledgehammer. He & I could pry the side walk pieces off of the ground together & get them out of our way in 1 piece. His way was better than mine, which should not shock anyone who knows my Dad! We were able to remove about 40% of the sidewalk, including a patch I had removed last summer/fall. Huge bonus? Beautiful (if very muddy) brick was hiding under the area we cleared! 

After- check out that pile of bricks on the left (in the
foreground). Those were our reward for pulling up the old
sidewalk!

The other 60% of the sidewalk was another matter entirely. It was significantly thicker (8-10 inches thick versus 2 inches for the other area) and more solidly constructed. I had a major roto hammer fail. It took me an hour of working the machine over this area to effectively scratch the surface. Wah, wah! The rest will need to be completed by a professional using a bobcat equipped with a jackhammer. My borrowed tool really couldn't hack it! At least I tried though, right?
Roto hammer fail :( Notice how the sidewalk is still there??
I gave it the good ole college try though - there has got to
be something said for that!

Monday, March 14, 2016

Insulation Station!

Who knew how incredibly fast the insulators would work?? Not me!

Welcome home - to a hazmat situation!
Apparently it is not good to expose your
skin or lungs to spray foam insulation....
On Friday around 12 noon I went to the house with a wonderful friend, Tanya, who drove in from Iowa. I gave her the exterior tour because it was clear the door was blocked by plastic sheeting. I tried to open the door & shouted hello through it; but the sheeting was taped over the door! Thankfully, this gentleman appeared & let us in. It was time for them to break for lunch he told us. Perfect; given how long Tanya had driven, I didn't want her tour to end at the mud pit yard!

Chris' office was almost done when the guys broke for
lunch. All done in the afternoon.
By that time (12 noon on Friday) the insulators had sprayed the foam throughout the 2nd floor! They worked so fast!

Chris & I went back together on Saturday & the insulators had completed the entire 1st floor Friday afternoon! Lickety split I'd say! (how do you spell lickety? lickity? Spell check doesn't like any of it. Hopefully you get my meaning despite any spelling shortcomings :)

Upstairs bathroom will be toasty!
Yahoo! Our bedroom is good to go!
The only other areas that need insulation are the attic, basement & crawlspace under the future family room. Those areas don't get sprayed; they get the old school batting insulation which apparently takes longer to install. They should be done by tomorrow at noon, meaning we'll have the insulation inspected Tuesday afternoon! Zoom! 

I think Willa was quite impressed with our 1st floor
insulation!

I love the old kitchen exhaust fan we kept -
the Air King! Our bedroom is insulated!

Next up? DRYWALL! Eek! We're chugging along!

Marking Our Territory & Basement Progress

When opportunity knocks.......you put your initials in the concrete of your new (old) house!

One of our plumbers, Julio, was working in the basement at the house late in February. I was chatting with him while checking out the freshly poured concrete that filled in the trench that had been there since early in January. I was quite pleased to say goodbye to the trench; it was disgusting & made the house feel like a total mess. 
The trench is now filled in! Yippee!

Julio mentioned that my Dad had asked him if he could write his name in the wet concrete & I laughed and told him my Dad would absolutely do that, but I was pleased Julio put him off. Thanks Dad for inadvertently giving me the idea to put our names in the freshly poured concrete!
This is the wall where the laundry machines will go. Our
laundry sink will be on the far right, standing proudly over
our initials!

I'll write a much longer post about why my Dad was over at the house chatting with the plumber...it involves an old piece of furniture my Dad is making new for our house!

I would love to know if you've ever written your name in concrete! My big brother (& many others) always alleged that I wrote my name in a sidewalk near our childhood home. I didn't, though no one believes me despite the intervening 20+ years & my best protests! I hope someone has a good place they've put their name or initials :)

Thursday, March 10, 2016

Water Service Upgrade

Dig dig dig
Everybody likes good water pressure for their shower, right? With that in mind we updated & upgraded our water service pipe to accommodate the addition of the master bathroom and a dishwasher to the mix of water using appliances in the house.

Well, we didn't need that hole after all.
Fill it up!
The City rips a hole in the street to give access to the valve that hides under the parkway. I guess this is where our water will be turned off if we stop paying our bill....yikes! It is also where the water department turned off our water when we had a pipe burst earlier this year. Yes. With virtually no pipes in the entire house.....the one pipe that could possible burst, did. Hello water spraying all over the few things we stashed in our destroyed basement. Not ideal. At least that pipe is now a thing of the past :)

I think our neighborhood was kept safe
with this use of 2 orange cones.
Here we go digging the 2nd hole in the
driveway.
Back to the present: the city decided they couldn't run our new water service from the first hole they dug into the street (because it might damage our beautiful parkway tree - I don't want that - I like the tree a lot. Also because it would be running too close to our sewer line. Yuck.) Soooooo they dug a second hole in the street and tore open part of our driveway for good measure. There is no reason to have just one hole in the street/on your property when you could have three. Am I right? Insert visions of dollar signs here as the costs begin to increase :(. Oh well, nothing to be done!

Keeping our parkway tree safe with orange fencing.
Lots of orange happening today.
There are the 2nd & 3rd holes that were dug. Why just dig one when you can dig three??
I was sad to miss this action, I was in Colorado with my big sister & littlest niece (which was abundantly awesome & wonderful - wouldn't have missed that trip for all the house stuff in the world :), but between my Dad & our contractor- I was fully informed of the progress. Thank goodness they were willing to send some photos too!

The little machine fit perfectly in our driveway. The 3rd hole
is right behind the digger.

Sweet bricks! Price was right: free!
Well, given the chunk of change we paid for the water
service upgrade.....maybe not exactly free.....
Bonus of the multiple holes dug in the street (which we are on the hook to pay for :(? A pile of very good looking red bricks! Thanks Dad for scavenging for me. I think I know where I get my love of trash to treasure!


Ta da! Here is what all the fuss was about:
our new water service in the basement!

Sunday, February 14, 2016

Kitchen Barn Wood

So, Much. Barnwood!!!
We had a great time shopping at a place in Crystal Lake called All American Reclaim. It was amazing. It was perfectly made for us! Our contractor recommended that we shop there when we said we wanted to use reclaimed barn wood for some accents in the kitchen. It is a really fun shop, a relatively typical antique shop in the front & an epic warehouse full of barn wood at the back. 

Chris is stacking the boards we chose. Yay!

Stay tuned - we'll show you photos of where this wood goes when it is installed!

Beams, beams, beams. Plus some interesting
raw wood stuff in the foreground.

Honestly. The barn wood was just amazing.

It keeps going & going!!


The Guts

The guts are almost 100% in the house! By guts, clearly I am referring to all the very important pipes, conduit, cords, insulation & ducts. Another way to say guts is to say, the incredibly important, expensive, but ultimately hidden bits of the house that make it work like a house should in 2016! We didn't necessarily know how far our house would be gutted.....but all of the old guts were taken out of the house. Or at least 99% of the guts. The 1% will stay hidden in place, but not be used.

So here are some photos of the guts. We are really looking forward to our inspection as passing it will signal a huge next phase of our project. Once the guts pass their inspection, the finishes begin being installed! Drywall, tile, hardwood, paint, trim finishes, cabinets, vanities; all the things we are excited about as they bit by bit pave the way for us to move in! 

Water closet in the master bath

Mini ducts for the SpacePak hiding in the
master bedroom closet wall

Plumbing & electrical for the master
bath vanity wall with the SpacePak ducts

The SpacePak ducts for the family room
hide inside the built in bench in the sunporch
this room required some creativity :) Please
note the pink/salmon paint on the bench lid
leaning on the left wall!

Also note the floor covering where I'm standing
that was hidden inside the built in bench! So
many funny things hide inside our house!

Plumbing stuff in the trench in the basement floor. Yes
there is still an open trench in the basement floor. I
didn't say the guts were all the way there yet!